

A chaotic timeline kills creativity and drains your valuable time. You waste hours searching for misplaced clips. Layers and visual effects pile up rapidly. Simple edits become technical nightmares that slow your computer. The professional solution requires mastering Premiere Pro nesting. This feature merges clips for easier timeline control. It streamlines your entire editing workflow instantly.
I recall a complex project at our digital agency. We produced a commercial for a waterfront restaurant. The deadline was just two hours away. The timeline spanned seven video tracks. Three audio layers sat underneath. Various shot effects were stacked on top. I accidentally moved a single clip. The entire timing shifted instantly. Audio and video fell completely out of sync. In that critical moment, I selected every scattered clip. I clicked the Clip menu. I chose Nest and named it “Scene One”. The chaos transformed instantly into one organized green clip. I finished the work early. We delivered the project twenty minutes ahead of schedule.
Understanding Premiere Pro Nesting and Why It Saves Your Timeline
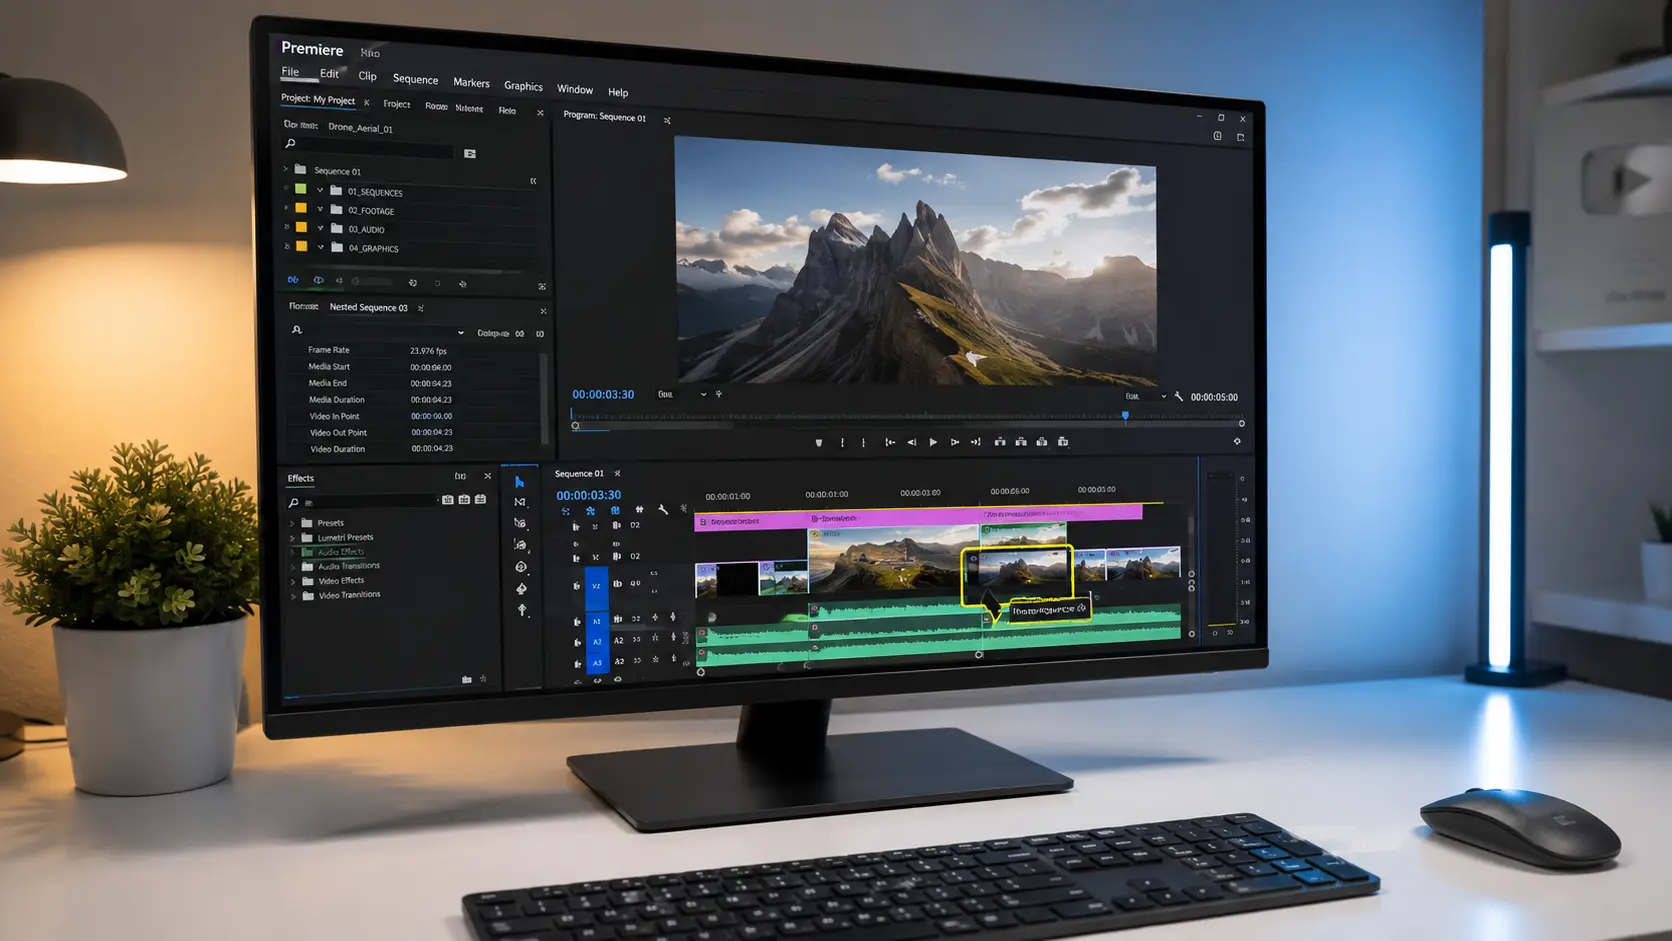
Nesting simply groups scattered elements into one smart container. This feature converts complex clip groups into unified blocks. You can move and edit them easily. Your other project parts remain completely unaffected.
How Nesting Changes Timeline Management
Editing scenes with split clips and transitions is tricky. Manual movement often breaks synchronization. Premiere Pro nesting gathers all elements into one green clip. The software treats it like a single video file. You can apply color grades or filters instantly. This saves you from repeating tedious steps. Maintaining visual consistency becomes much easier. Your mental energy stays focused on the big picture.
Improving Preview Performance and Reducing Resource Usage
Crowded timelines strain your CPU and GPU during live previews. Merging layers reduces active elements for the renderer. You will notice playback stuttering disappear immediately. This improvement is vital for mid-range workstations. Organizing your digital workspace matters just as much as physical organization. You can explore space organization tips to boost overall productivity during long projects. This technical and visual organization prepares you for efficient nesting.
How to Nest in Premiere and Avoid Audio Loss
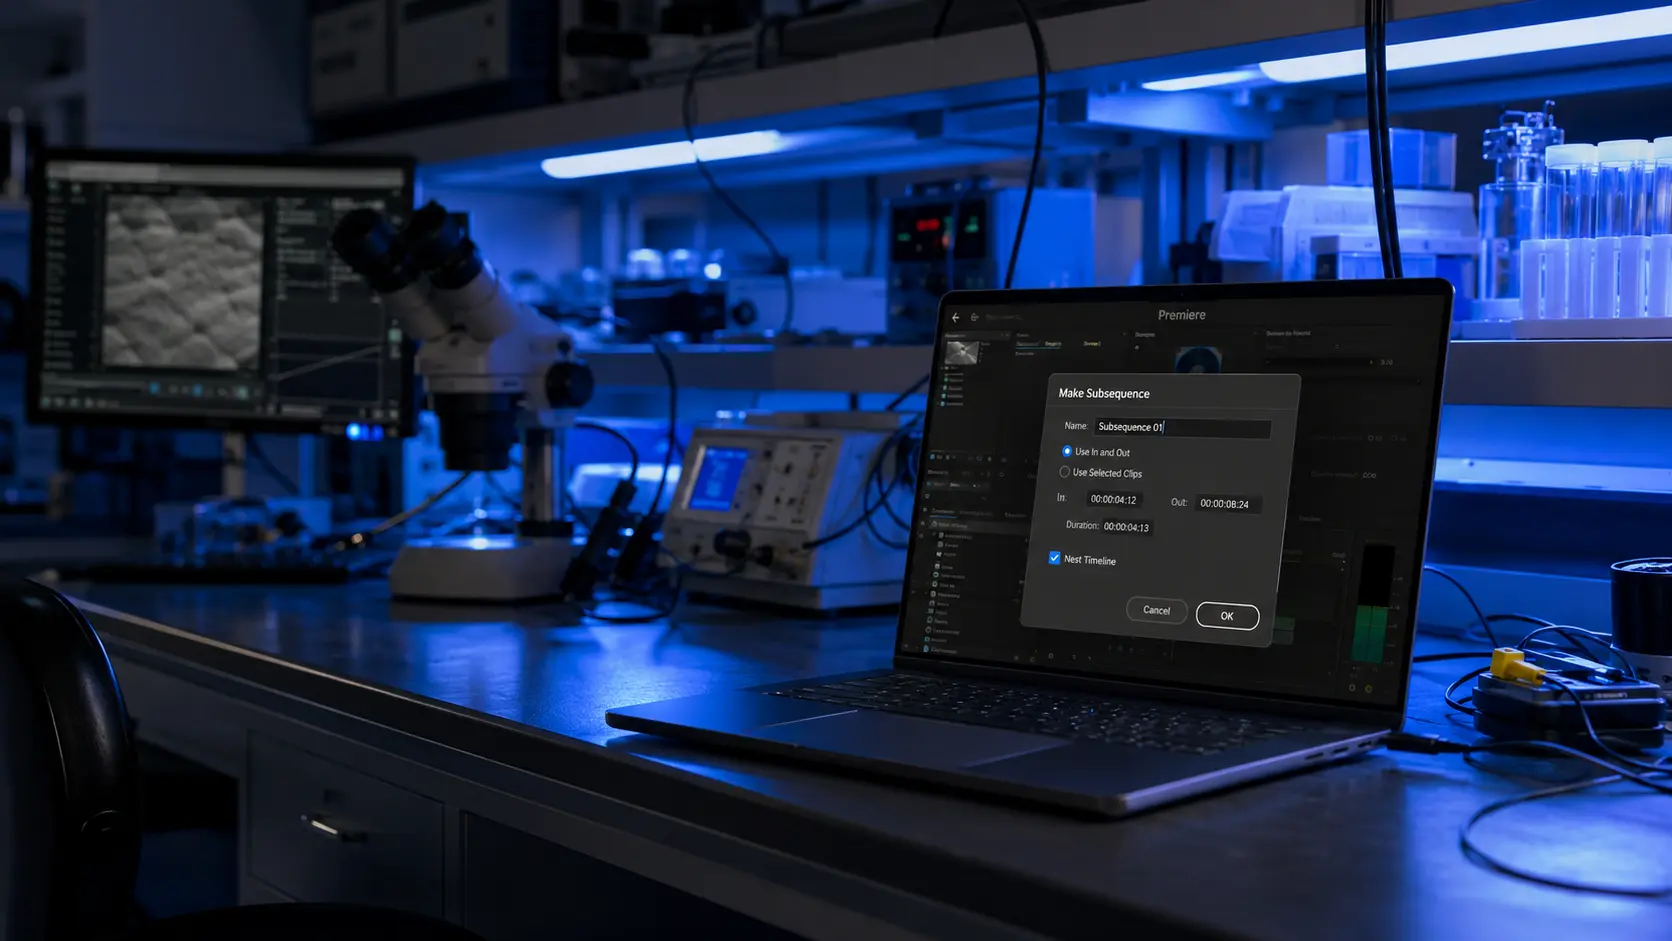
Applying the merge process is quite simple. It may cause unpleasant surprises if you ignore multiple audio tracks. Here is the correct method to merge clips. This approach protects your entire project integrity.
Basic Steps to Merge Clips via the Clip Menu
Start by selecting clips in the timeline. Hold Shift while clicking with your mouse. Navigate to the top menu bar. Select Clip and click Nest. The software will prompt you to name the sequence. Type a clear name that describes the scene. Click OK. Your selected clips instantly transform into one green bar. This represents your new nested sequence.
I Once Lost Audio Because of This Trick
I once worked on an interview project. The video clips contained multiple secondary audio tracks for effects. I nested them using the standard option. The extra audio vanished completely after merging. The default Nest feature only combines video. It ignores additional audio tracks. To avoid this issue, open the Sequence menu. Select Make Subsequence. Use the shortcut Ctrl+Shift+S on Windows. Use Cmd+Shift+S on Mac. This feature creates a subsequence. It preserves all video and audio tracks perfectly. No audio details will be lost. Once you merge clips successfully, you may need to reverse it later. Detailed adjustments often require access to the original files.
Steps to Unnest and Return to Original Clips
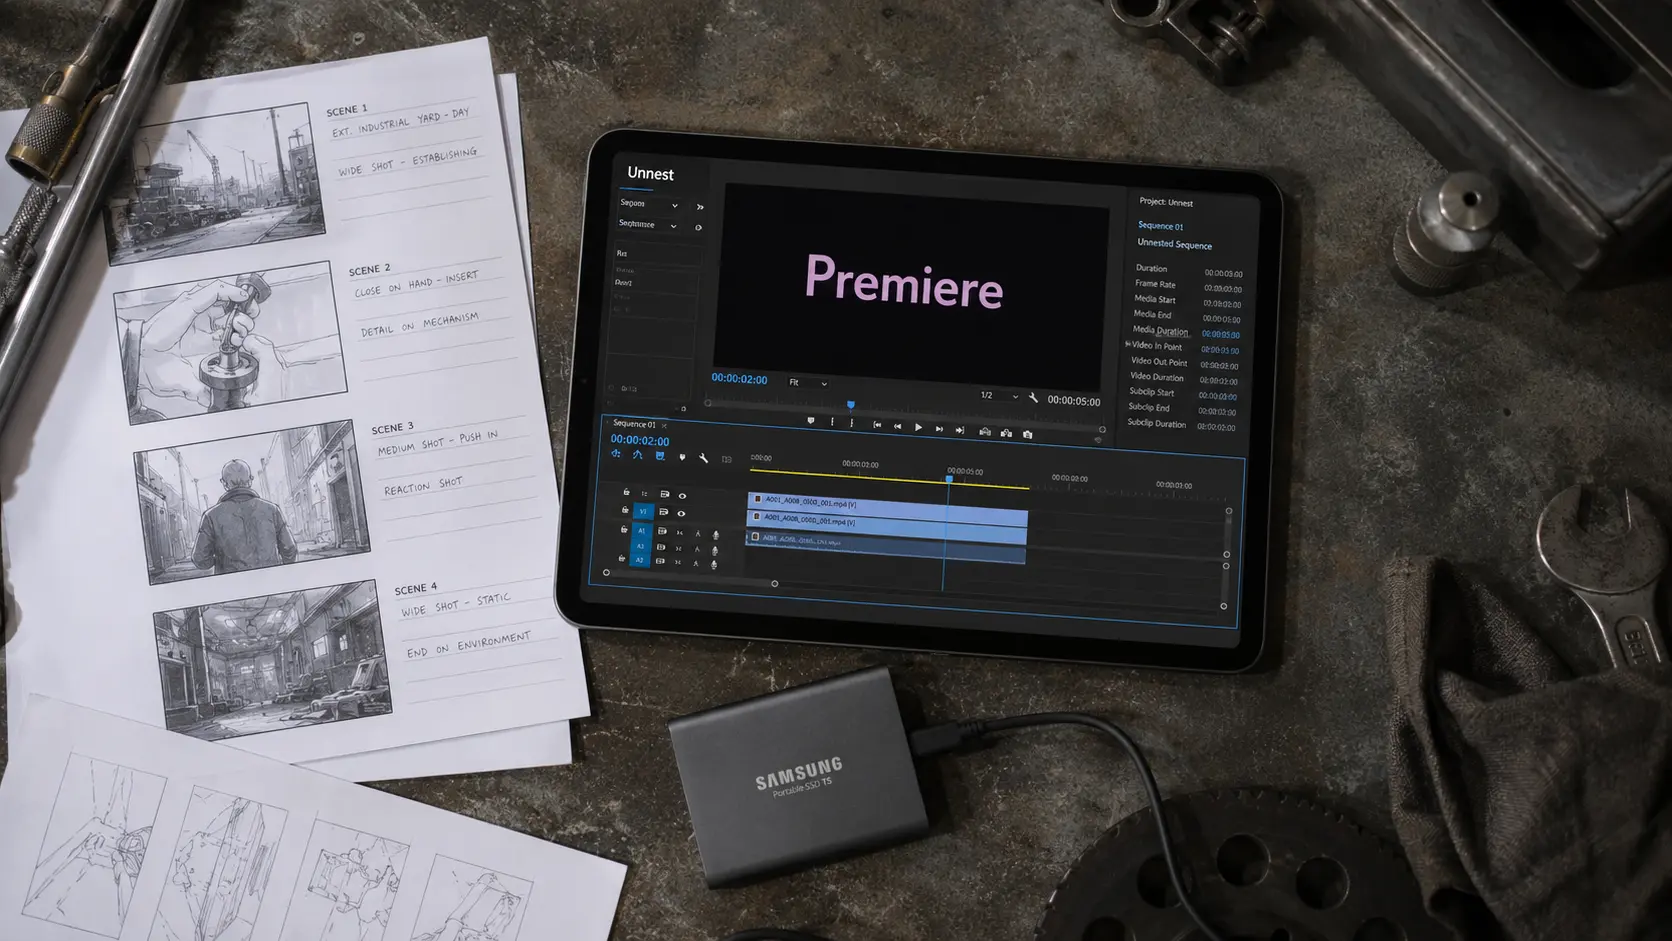
Flexibility is the foundation of professional editing. Merging is never a permanent decision. You can always access nested contents. You can edit individual shots easily. You can also return them to their original positions.
Accessing the Nested Sequence for Precise Edits
You do not need to unnest the entire project. Just double-click the green clip in the timeline. The software opens a new tab for that sequence. You will find all original clips inside. They remain organized on their original tracks. Make your precise edits now. Trim video segments or adjust color grades. These changes apply automatically to the main timeline.
Dragging Clips to the Main Timeline and Deleting the Nested Sequence
You might decide to completely remove the nest. Double-click the nested sequence to open it. Select every piece of content inside. Drag the clips upward toward your main timeline tab. Drop them precisely where they belong. Restore the original clips to their spots. You can now safely delete the empty green clip. This cleans up your workspace effectively. For detailed timeline techniques, review the clip management guide. This resource deepens your understanding of these tools. This method guarantees editing flexibility. You never risk losing creative work.
The Secret Pro Tip for Using Subsequences in Large Projects
Project sizes often grow beyond hundreds of clips. The Make Subsequence feature becomes your actual secret weapon. It solves audio issues and boosts workflow efficiency. Long projects frequently reuse identical shots across scenes. This is where the true power lies.
Instead of repeating color grading across different scenes, I convert the base shot into an independent subsequence. I place this subsequence everywhere in the main timeline. It functions exactly like a regular clip. Clients sometimes request color adjustments or shot replacements. I never search through every single instance manually. I simply open the subsequence. I edit the shot one single time. The change updates automatically across the main timeline. This method saves hours of repetitive work. It also protects your project from human error.
Frequently Asked Questions
What is Premiere Pro nesting?
Premiere Pro nesting combines multiple video, audio, or graphic clips into one sequence. Instead of managing several layers, the software groups them into a single green clip. This simplifies effect control and maintains workspace organization.
Does using Premiere Pro nesting require extra fees?
No, the feature is completely free inside the software. It requires no additional payments. This built-in tool organizes timelines and boosts performance. You can use it freely with an active Adobe Premiere Pro subscription.
What is the difference between Premiere Pro nesting and using an Adjustment Layer?
An Adjustment Layer applies effects only to clips below it. It does not group them together. Premiere Pro nesting actually merges the clips into an independent sequence. Nesting is superior for complex timelines. It reduces processor load during previews. Moving multiple clips together becomes effortless.
How do I quickly nest clips in Premiere?
Select your target clips in the timeline. Hold Shift while clicking to highlight them. Navigate to the top Clip menu and choose Nest. Type a suitable name for the new sequence. Click OK to group everything into one green clip.
Is Premiere Pro nesting safe for original clips, and can it be easily undone?
Yes, nesting is completely safe for your source files. It never deletes original clips. You can easily reverse the process. Double-click the green clip to open the sequence. Drag the original files back to the main timeline. Delete the empty nested clip to finish.
Your Next Step to Organize Projects
Mastering Premiere Pro nesting separates amateurs from true professionals. Professionals respect their time and creative energy. Timeline organization provides visual comfort. It also prevents system crashes. You will deliver projects on schedule without stress. Open your most complex recent project right now. Merge overlapping shots into organized groups. You will immediately notice the performance difference. What methods do you currently use for large projects? Share your workflow before color grading begins.
Discover more from أشكوش ديجيتال
Subscribe to get the latest posts sent to your email.
![3 مراحل لتأسيس الهوية البصرية من استراتيجية العلامة [دليل]](https://hcouchd.com/wp-content/uploads/2026/08/file_0000000023d8822f8e619d5632f35c74-1024x576.webp)
![هل يتحول تصميم AirPods بالكاميرات من نكتة لأيقونة؟ [تحليل]](https://hcouchd.com/wp-content/uploads/2026/08/file_0000000041d88230aa3a1289b00f19f3-1024x576.webp)
![أفضل خطوط PowerPoint لتصميم عروض تقديمية احترافية [60 خط]](https://hcouchd.com/wp-content/uploads/2026/08/file_000000008b6481fd91951ad979a42aab-1024x576.webp)