Knowing every tool in the software won’t save your edit. Some hidden Premiere Pro habits completely destroy your professional work. Beginner editors think the problem is their equipment. The real gap lies in daily habits.
I learned this harsh lesson on an early project. I later read about the wrong editing habits that expose amateur editors. I was delivering a real estate documentary in Casablanca. The deadline was only forty-eight hours away.
- 1 Habit Seven: Premiere Pro Habits That Make Your Edit Look Amateur Even If You’re a Pro
- 2 Timeline Organization: The First Habit That Exposes a Messy Editor
- 3 Cut on Energy, Not on Clip End: How to Make Your Scenes Flow
- 4 Audio Is Not a Finishing Touch: Build the Sound Structure Alongside the Image
- 5 Transitions: From the Default Settings Trap to Deadly Overuse
- 6 Effects: Why Less Is More in Professional Editing
- 7 The No-Effects Edit Test: The Habit That Reveals Your Story’s True Power
-
8
Lessons from the Trenches: How Track Organization Saved a Real Estate Project from Collapse
-
8.1
Frequently Asked Questions
- 8.1.1 What are the most prominent Premiere Pro habits that destroy editing professionalism?
- 8.1.2 Does correcting Premiere Pro habits require buying expensive plugins?
- 8.1.3 What is the difference between relying on default settings and treating audio as a structural element?
- 8.1.4 How do you organize the timeline to change wrong Premiere Pro habits?
- 8.1.5 Is relying on visual effects a reliable solution to hide weak cutting?
-
8.1
Frequently Asked Questions
- 9 Conclusion
Habit Seven: Premiere Pro Habits That Make Your Edit Look Amateur Even If You’re a Pro
Why Editing Without a Story Is the Root of All Bad Habits
Missing narrative structure creates massive timeline chaos. The editor compensates with random visual effects. This creates an illusion of creativity while hiding structural weakness. The viewer gets bored quickly without knowing why.
I worked on a commercial for a local clothing brand. The edit was full of fast transitions to hide weak footage. I removed all effects and focused on the story sequence. Viewer retention jumped forty percent immediately.
How to Build a Story Structure Before Opening Premiere Pro
Write down the target emotions for each scene before importing. This guides your cutting decisions and prevents file wandering. Define the start, peak, and end points on an external sheet. This simple plan saves hours of later adjustments.
The Story Test: Does Your Edit Hold Attention Without Sound?
Turn off the sound completely and watch the visual sequence only. Good cutting should push the story forward visually. If you lose interest during silent viewing, the problem is clear. You are relying on music to hide weak visual rhythm.
This visual test prepares the way for later track organization.
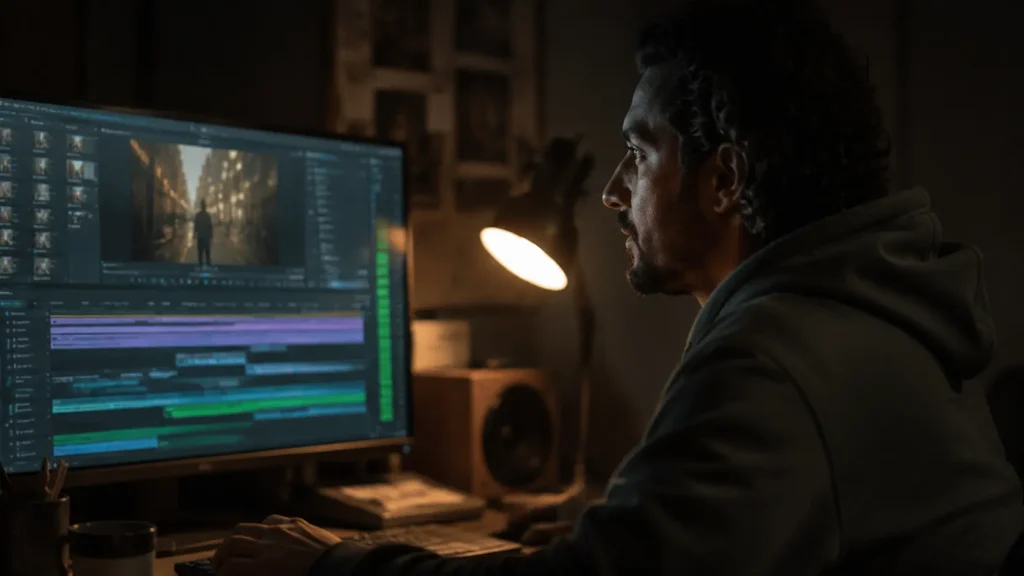
Timeline Organization: The First Habit That Exposes a Messy Editor

Assigning Video Tracks by Function: V1 for Main Shots, V2 for Close-ups
Always assign the first track to primary interview shots. Place B-roll and side footage on the second track. Use the third track for graphics and motion text. This fixed system speeds up creative decision-making.
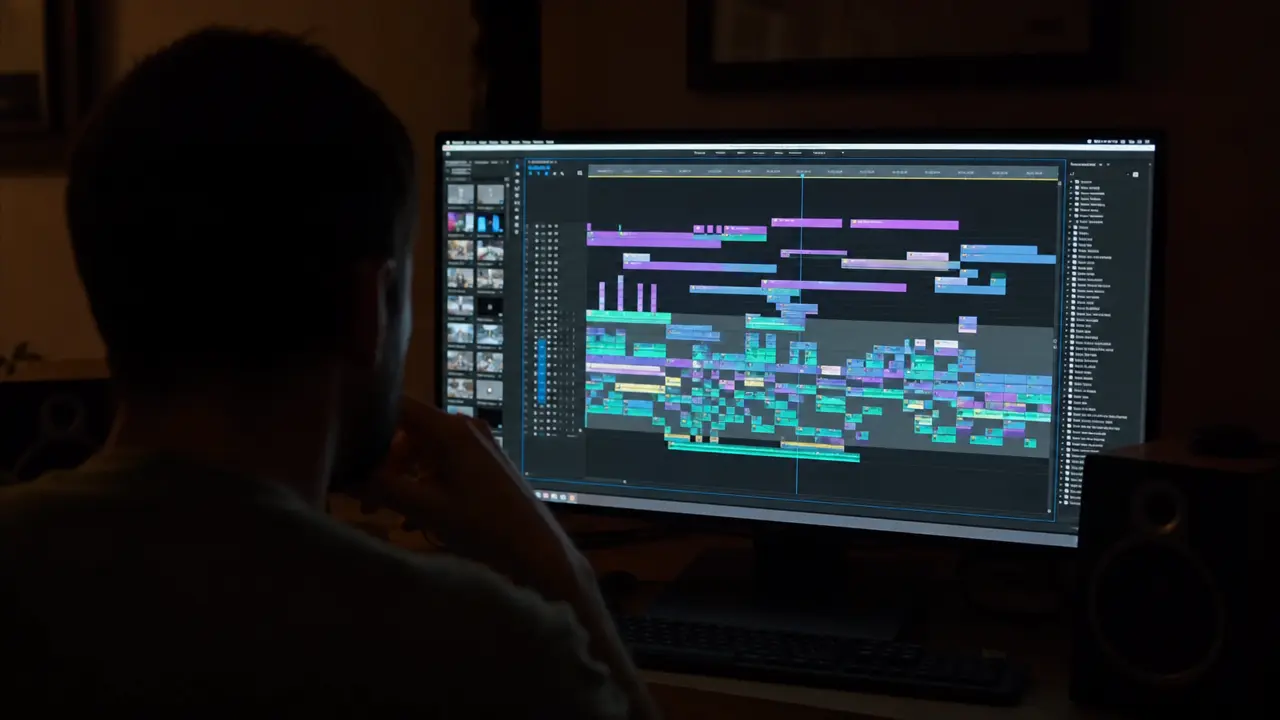
I faced major chaos on a historical documentary project. Eighty layers were overlapping and playback kept stuttering. I restructured the project using track targeting buttons. I saved twelve hours of searching and painful exporting.
Naming Clips and Layers: Invest Five Minutes to Save Hours
Name every clip and layer clearly before starting to cut. This prevents catastrophic errors when editing a later version. Use standardized prefixes like INT for interviews and EXT for exteriors. This makes quick searching inside the project bin much easier.
Create a ready-made template that saves track structure and colors. This saves setup time on every new project.
Using Colors to Differentiate Content Types
Use the Label feature to mark clips with specific colors. Red for interviews and green for exterior shots, for example. The eye catches color patterns faster than reading text. This reduces visual fatigue during long editing sessions.
Visual organization makes the transition to the cutting phase smoother.
Cut on Energy, Not on Clip End: How to Make Your Scenes Flow
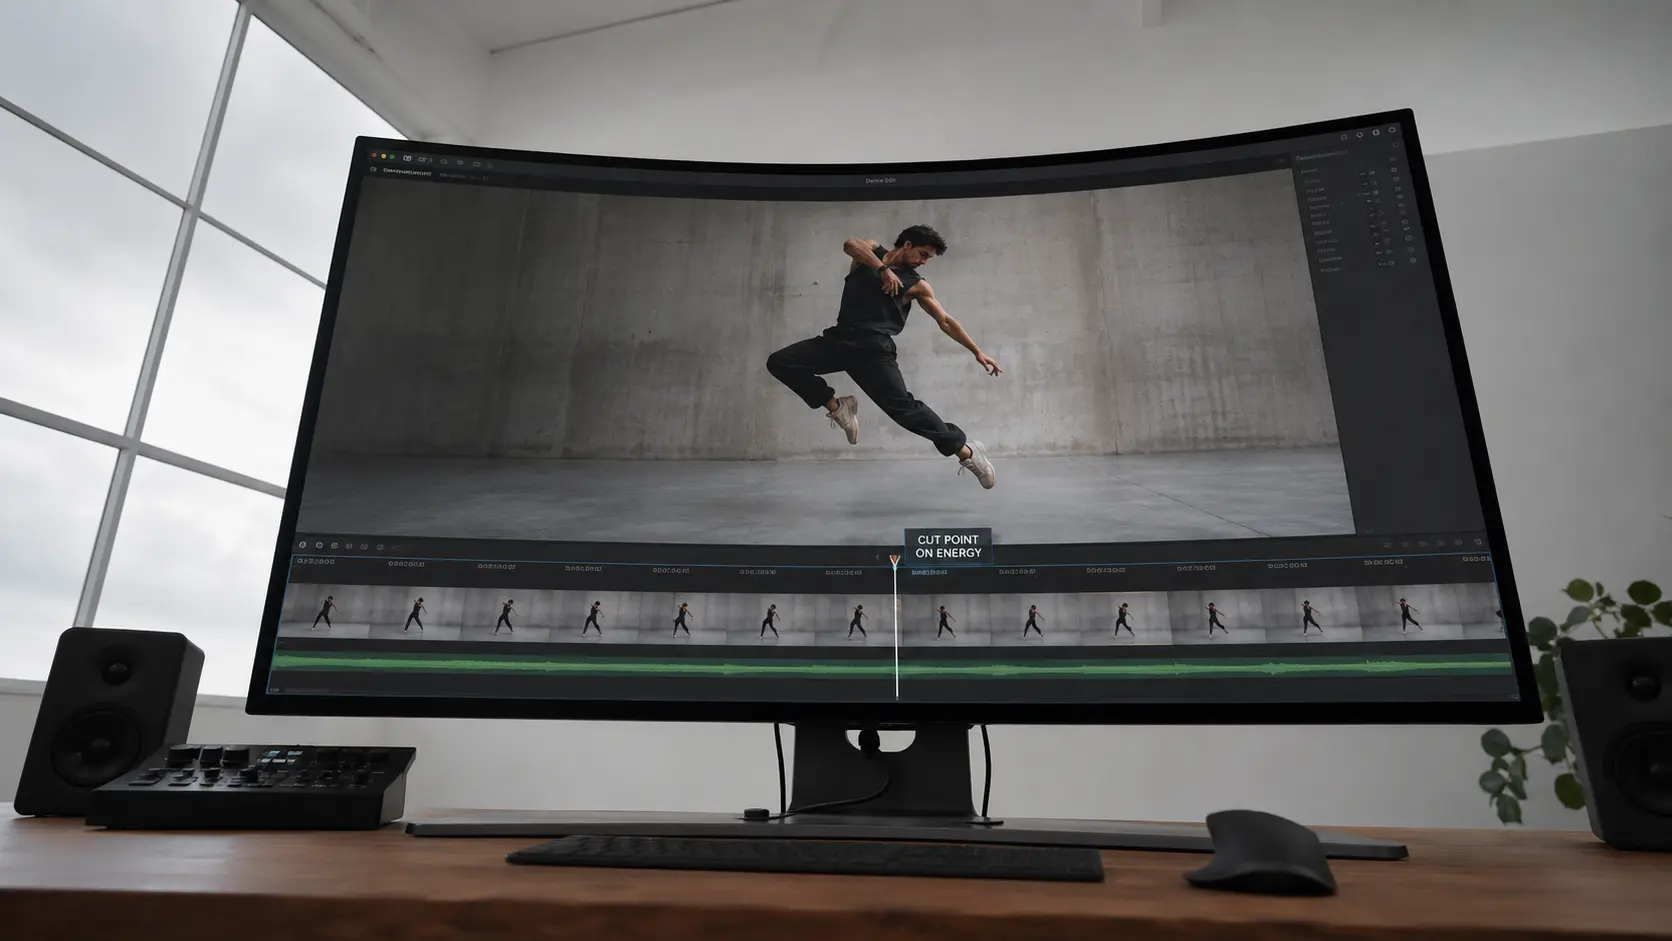
How to Identify the Energy Shift Point in a Shot
Watch facial expressions and camera movement with extreme precision. The cut should happen only when emotions change. Pay attention to subtle shifts in voice tone and body language. These moments are the golden points for scene transitions.
The Silent Viewing Exercise: Testing Cut Strength
Watch your edit without sound to evaluate visual rhythm. A successful cut keeps the viewer moving forward constantly. I recently edited a promotional video for a new tech product. The cuts were mechanically following the end of audio sentences.
I changed the cutting strategy to follow hand movement energy. The video became more lively and interactions increased significantly.
Avoid Random Fast Cutting: Build a Deliberate Rhythm
Use cutting speed contrast to create tension and calm. Continuous fast cutting exhausts the viewer’s eye and scatters attention. Give the viewer breathing moments after fast, complex scenes. This contrast makes impactful moments stronger and more effective.
Listen to your breathing rhythm while watching a silent scene. This helps you identify natural cutting points with precision.
Masterful visual rhythm needs a solid audio structure.
Audio Is Not a Finishing Touch: Build the Sound Structure Alongside the Image
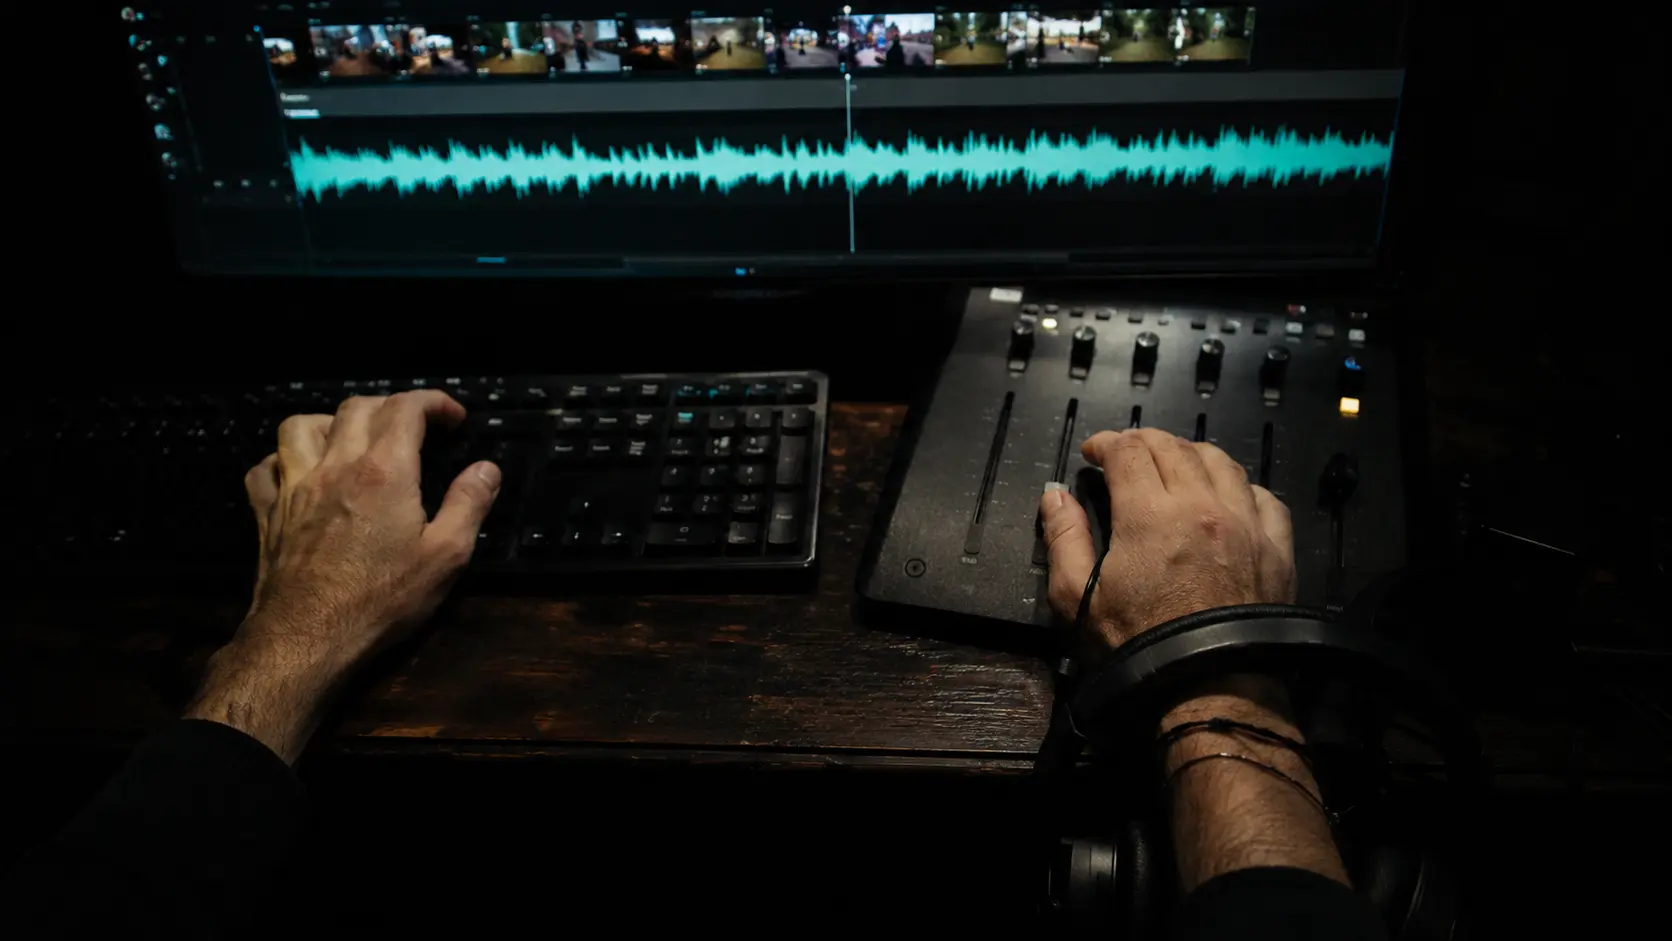
Assign Audio Tracks with the Same Logic as Video: Dialogue, Effects, Music
Always place dialogue on tracks one and two. Assign the following tracks to sound effects and background music. This separation makes final mixing much easier. You can mute the music with one click to check dialogue clarity.
Using Audio to Enhance Cuts: J-cut and L-cut Techniques
Use the J-cut technique to start the next scene’s audio early. This connects scenes smoothly and hides sharp visual transitions. I worked on a short film for an independent director previously. The transitions between scenes felt separate and very forced.
I applied overlapping audio cutting techniques between scenes. The scenes blended smoothly and critics praised the narrative cohesion.
Basic Audio Processing During Editing, Not After
Adjust audio levels and remove noise during the edit. This prevents painful rework during the mixing stage. Use the Essential Sound effect to quickly unify dialogue levels. This ensures a comfortable listening experience throughout the video.
Never leave audio normalization for the final steps. Uneven levels distract the viewer from the story.
Polished audio highlights transition flaws and demands immediate fixes.
Transitions: From the Default Settings Trap to Deadly Overuse

Why the Default Cross Dissolve (One Second) Destroys Your Professionalism
The default Cross Dissolve transition kills fast editing rhythm. Customize its duration and type based on the scene’s emotional context. Long transitions only suit sad, slow scenes. Using them in fast scenes makes the video look amateur.
The One-Transition Rule: When to Use a Transition and When to Cut Hard
Use transitions only when time or location changes. The hard cut is usually the best and most professional choice. Professionals rely on direct cuts in ninety percent of cases. This keeps the viewer immersed in the story.
Transition Alternatives: Cut on Movement and Sound to Connect Scenes
Cut on similar movement between two completely different shots. Use audio as a smooth bridge to connect different scenes. This ensures you have strong original footage, especially if you master choosing a professional photography studio that achieves your creative vision.
Clean editing opens the door for thoughtful effects usage.
Effects: Why Less Is More in Professional Editing
The Zero Effects Rule: Test Your Edit Without Any Enhancements First
Finish the edit without any visual effects or transitions. This clearly reveals the strength of the basic story structure. If you feel bored without effects, the story is the problem. Never try to beautify a weak edit with additions.
When Effects Are Necessary, Not Just Decoration
Use effects to serve the story or fix a technical problem. Never use them to hide weak footage or cutting. I edited a video for a major sports event last year. I added excessive visual effects to hide camera shake.
I removed the effects and stabilized the shots manually using Warp Stabilizer. The shots became more realistic and honest with the target audience.
Avoid Plugin Addiction: How to Choose the Right Effect Without Clutter
Choose simple effects that only enhance the core message. Complex additions steal attention and weaken the scene’s emotional impact. Always ask yourself: does this effect serve the story? If the answer is no, delete it immediately without hesitation.
Save a small collection of favorite, tested effects. This prevents wasting time browsing through massive libraries.
Restraint with effects leads us to the naked edit test.
The No-Effects Edit Test: The Habit That Reveals Your Story’s True Power
How to Watch Your Work with Fresh Eyes: The One-Hour Break Technique
Take a short break before the final review. This rests your eyes and helps you spot hidden errors. Step away from the screen and walk outside for a few minutes. Your brain needs a reset to notice simple continuity mistakes.
The Naked Edit Checklist: What to Look For Before Adding Effects
Review the story flow, audio clarity, and cutting rhythm. Make sure every element serves the main goal. Check for black frames between clips. These small errors completely destroy the work’s professionalism.
Adding Effects as a Final Layer: How to Turn a Good Edit into a Great One
Add effects and transitions selectively and very thoughtfully. This enhances emotions without hiding the original story. Treat effects like food seasoning, not the main ingredient. A little brings out the flavor, too much ruins the dish.
Applying these habits ensures editing built on strong storytelling.
Lessons from the Trenches: How Track Organization Saved a Real Estate Project from Collapse
I was delivering a documentary for a real estate company in Casablanca. The deadline was only forty-eight hours away. The timeline was complete chaos and playback kept stuttering. I lost my temper searching for a clip among eighty overlapping tracks.
I suddenly stopped working and drank my cold coffee. I realized the chaos was the real problem, not the machine’s power. I decided to restructure the entire project immediately. I started using track targeting buttons to organize layers precisely.
I assigned specific tracks for drone shots, interviews, and graphics. This clear separation gave me back control of the timeline. Thanks to this precise organization, I saved twelve full hours. I delivered the project on time and the client approved it immediately.
True professionalism is not measured by knowing every available tool. It is measured by your strict system in using them daily. This harsh lesson changed how I approach every subsequent project. I now always start by setting the structure before cutting.
Technical chaos drains your creative energy before you even start working. Strict discipline frees your mind to focus on storytelling.
Frequently Asked Questions
What are the most prominent Premiere Pro habits that destroy editing professionalism?
These are wrong practices that beginner editors follow without awareness. They include leaving the timeline messy and random cutting. They also include blind reliance on default transition settings. These habits prevent the video from reaching a professional level.
Does correcting Premiere Pro habits require buying expensive plugins?
Correcting these habits requires no additional costs. The real gap lies in habits, not tools. You can achieve professional results using the same software. Just apply organization and correct cutting to get the results.
What is the difference between relying on default settings and treating audio as a structural element?
Relying on default settings makes the edit generic and boring. This stops creative thinking and weakens visual and audio impact. In contrast, professionals treat audio as a fundamental structural element. Sound is built in parallel with the image to ensure complete integration.
How do you organize the timeline to change wrong Premiere Pro habits?
Assign the first track to primary shots and the second to side footage. Use the third track for graphics while applying the same logic. This pre-organization takes only five minutes. But it saves hours of work and speeds up creative decisions.
Is relying on visual effects a reliable solution to hide weak cutting?
Relying on effects is never a reliable solution. It is a desperate attempt to hide weak cutting and fragile structure. The professional rule recommends finishing the edit without any effects first. If it does not grab attention, you need better footage.
Conclusion
Professionalism in editing comes from discipline, not effects. Organize your tracks and cut on energy to build a cohesive story. Try watching your current edit without sound today. What habit will you discover is ruining your work’s rhythm?
Focus Keyword: Premiere Pro habits
Article Idea: 7 Premiere Pro Habits That Are Making Your Edits Look Amateur
Category: Photography
Discover more from أشكوش ديجيتال
Subscribe to get the latest posts sent to your email.